Onboarding Guide
Complete guide to setting up your Stripe account for selling on PC Parts
1
Account Setup
2
Verification
3
Start Selling
Step 1: User Account
Getting Started
- Go to your Account Settings page
- Scroll to 'Enable secure payments' section
- Click on 'Configure now'
- You'll be redirected on the 'Complete your setup' page
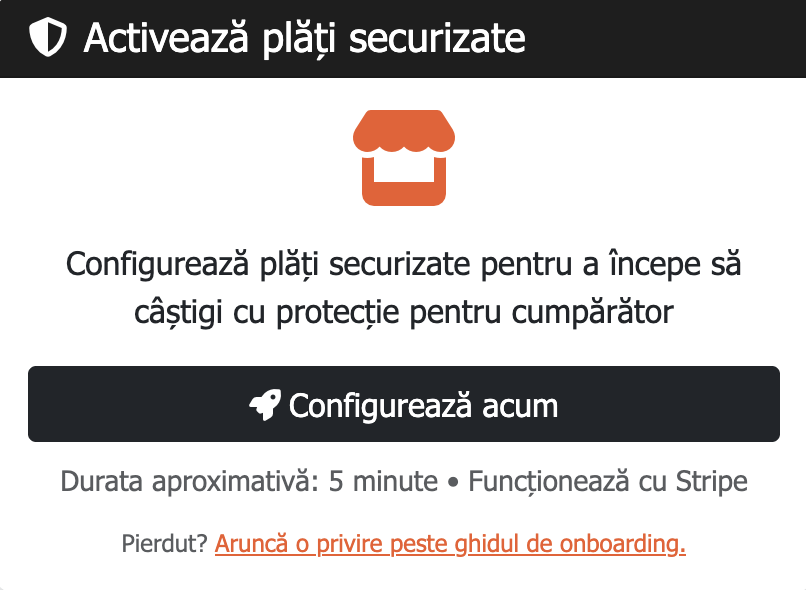 Setup Stripe Account button location
Step 2: Basic information
Getting Started
- Press 'Add information'
- A pop-up will appear; enter you email address and phone number - Stripe will send a code
- After the pop-up disappears, you'll begin the Stripe's onboarding
- Enter your legal name, date of birth, address and phone number
- Press 'Continue'
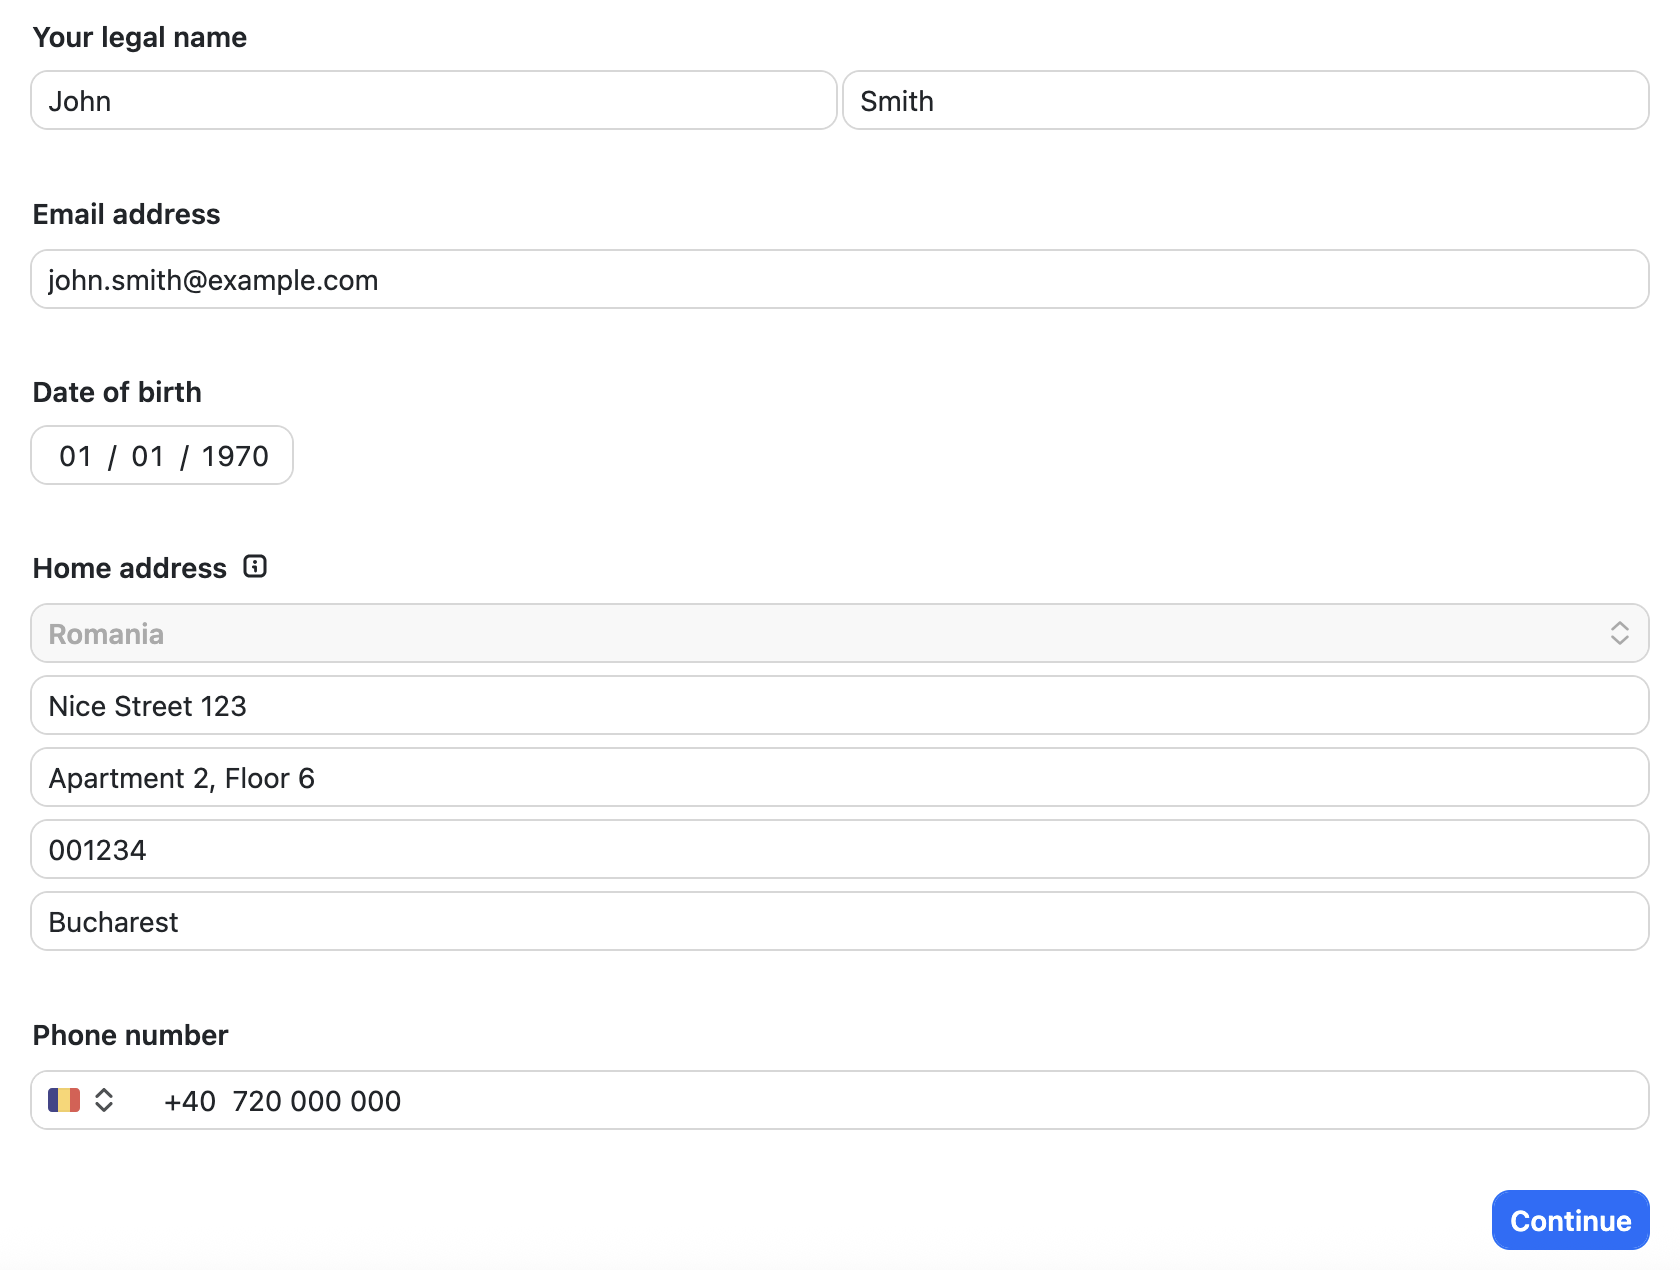 Stripe Basic Information page
Step 3: Bank Details
Required Information
- Bank account currency
- Bank account number, eg: RO123
- Press 'Continue'
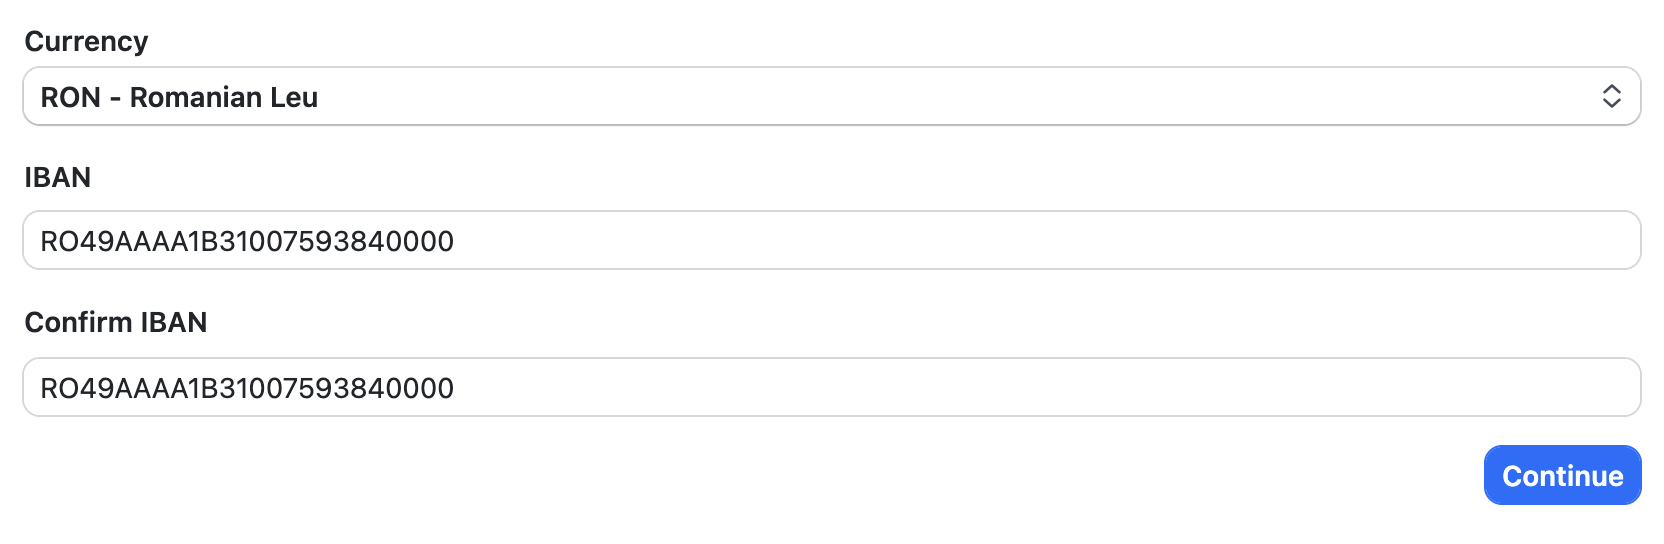 Stripe Bank Details page
Step 4: Overview
A review step where you can edit the information
- No need no modify anything in the 'Professional details'
- Review any card where Stripe shows 'Incomplete'
- Press 'Edit'
- Check the requirements - if the case
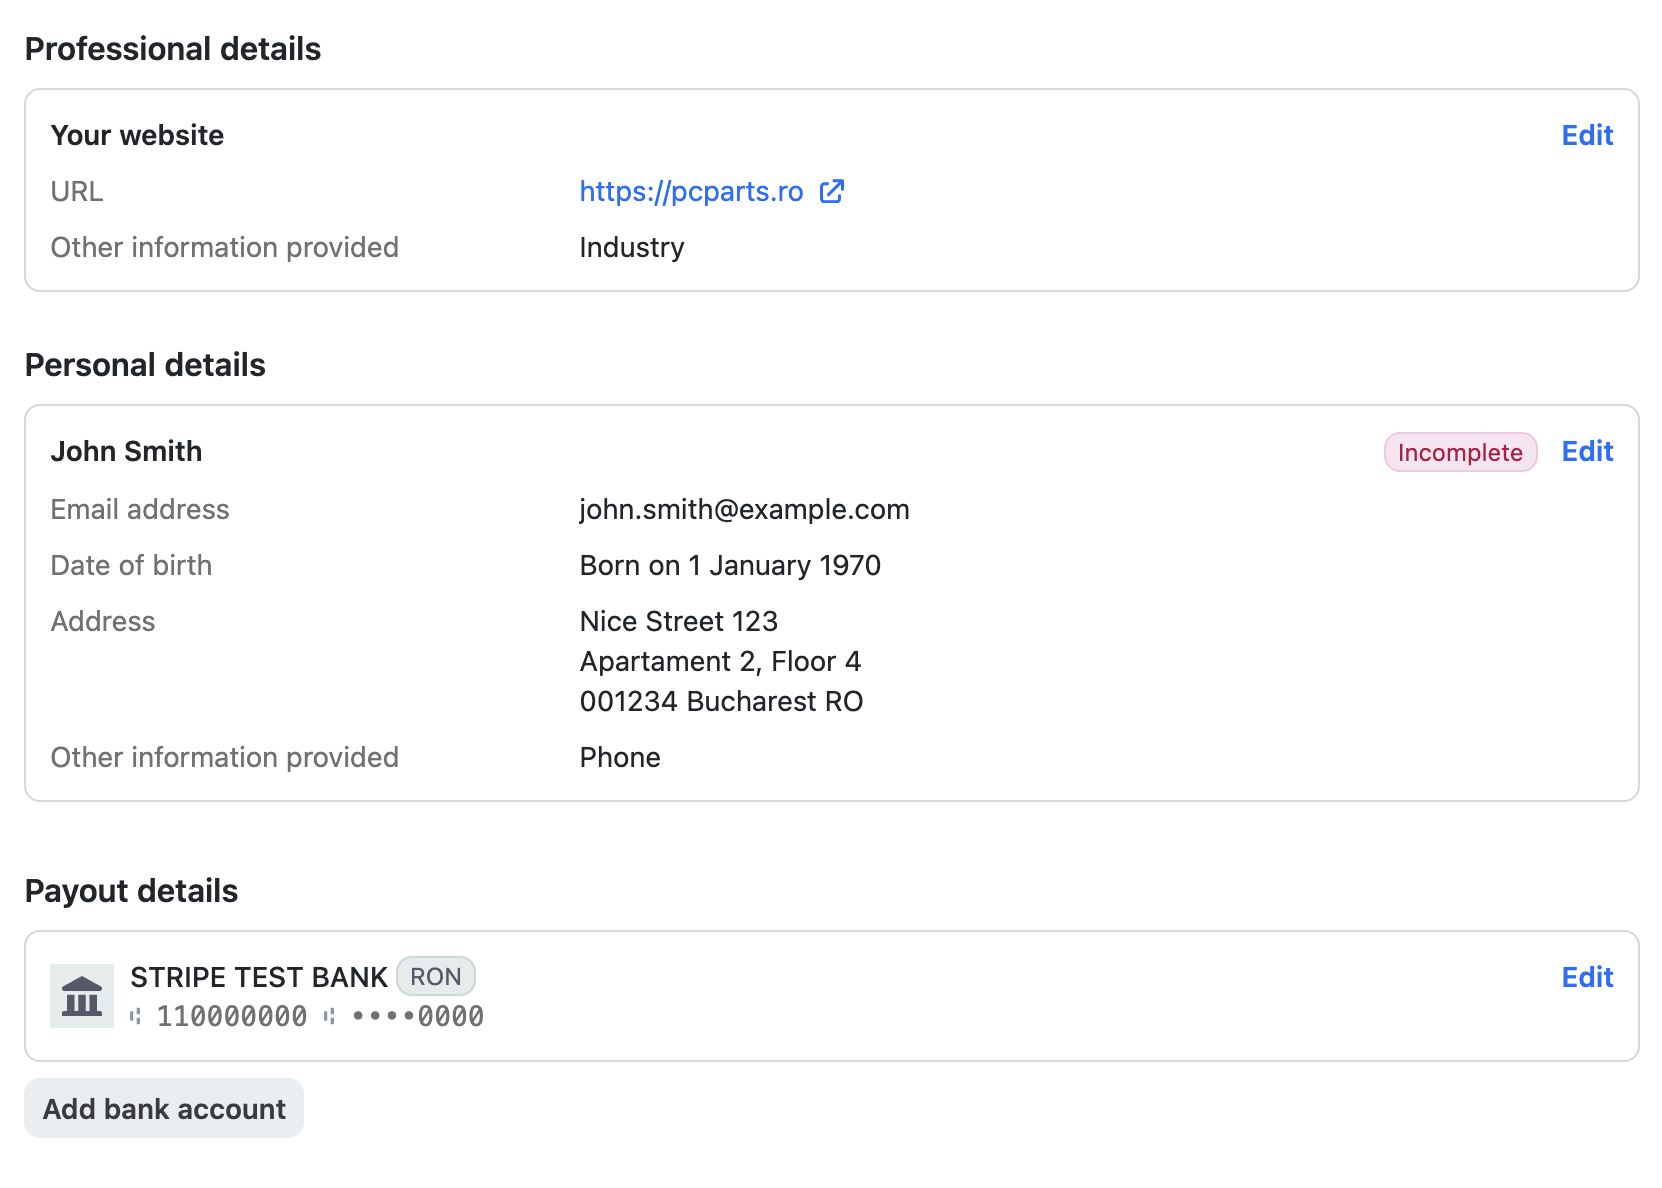 Stripe Overview page
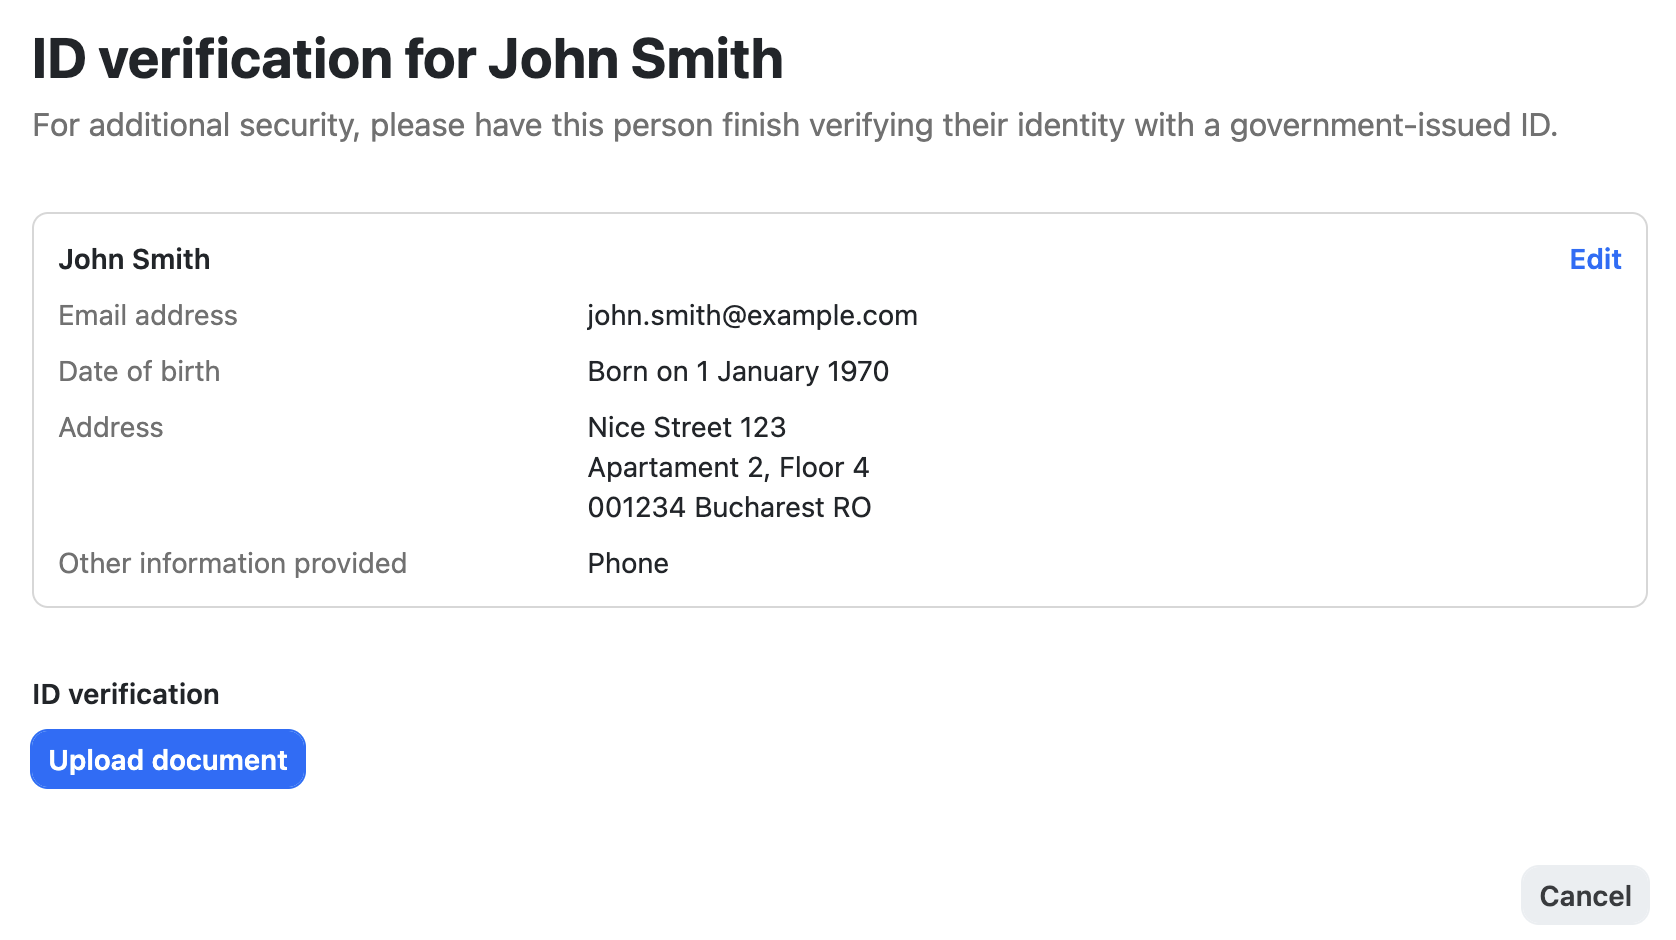
Step 5: Fill Incomplete Information
In this case, Stripe required additional information - ID
- Click on 'Upload document' and follow the screen
- A photo of your ID will be required*
- Upload the photo and follow Stripe's instructions
- After everything is completed press, 'Agree and Submit'
*PC Parts will never store any personal information. Your data is encrypted in transit and sent to Stripe.
 Stripe requirements page
Important:
If you skip this step your account functionalities will still work, however they will be limited. You can add your ID later in your account settings, but be aware that Stripe may disconnect the services at any time. Read more about the Identity Verification
here.
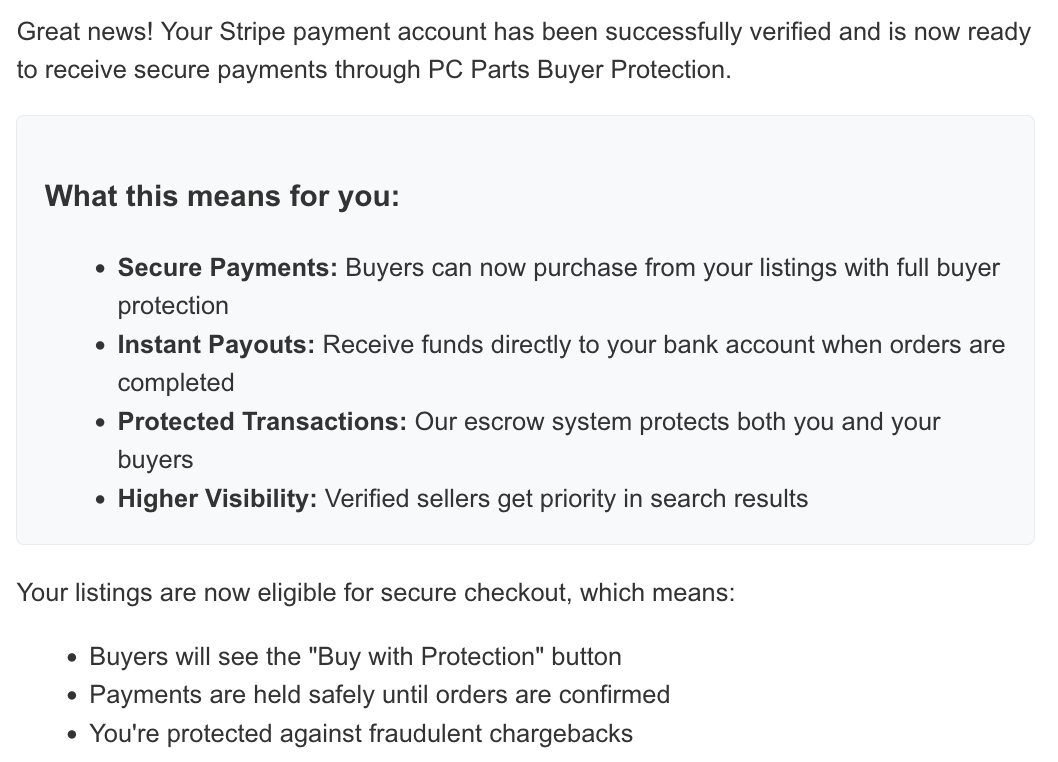
Step 6: Verification Confirmation
As soon as Stripe verifies your information, you payment account is verified and ready for receiving funds
You should receive an email that looks like this.
Usually this process could take to few minutes to few hours. If you don't receive a confirmation email at all, let us know.
 Confirmation email
Step 7: Start Selling
Once Verified
- Create your first listing
- Start receiving payments
- Track your earnings in dashboard
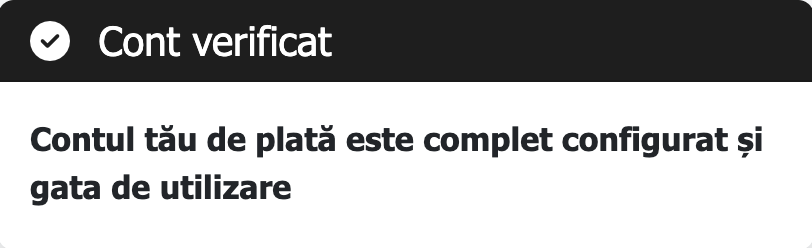 Account status after onboarding
Troubleshooting
Common reasons for document rejection:
- Poor image quality or blurred photos
- Expired documents
- Information doesn't match between documents
- Documents are not in acceptable formats
Solution: Re-upload clear, high-quality images of valid documents that match your account information.
Verification typically takes from a few minutes to a few hours. In some rare cases, verification could take between 2-7 business days. Usually, it takes longer if:
- Additional documentation is required
- There are discrepancies in your information
- It's a busy period for Stripe's review team
If the onboarding link isn't working:
- Clear your browser cache and cookies
- Try using an incognito/private browsing window
- Disable browser extensions temporarily
- Try a different browser
If the problem persists, contact our support team.
Need Help?
Our support team is here to help you through the onboarding process.